 Free account
Free account Kids furniture plan
Dollhouse Plans
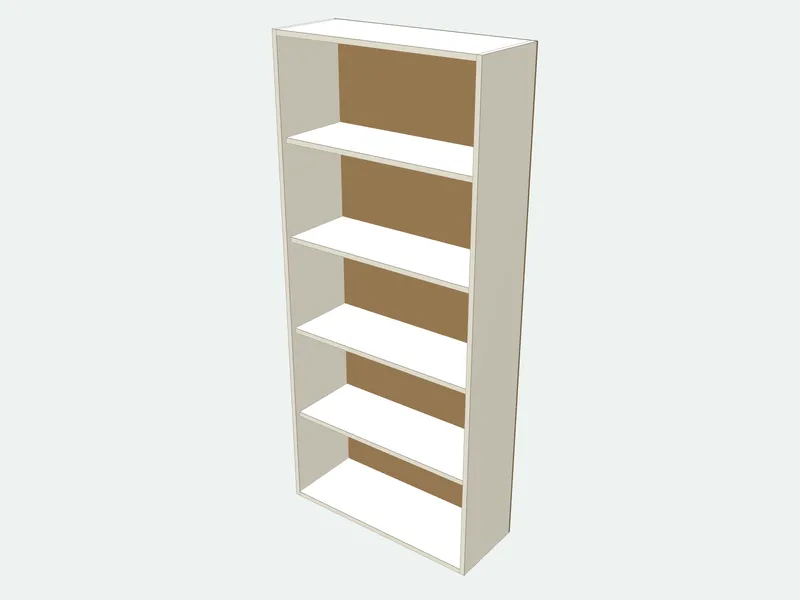
A dollhouse built like a small bookcase: open at the front, with floors and room walls you choose, a solid back to paint as wallpaper and a flat roof with an overhang. It doubles as a toy shelf, stands on the floor or a low table, and is sized from the rooms you want. A dollhouse for a child’s room, in plywood or MDF.
- Default size
- 800 × 900 × 300 mm
- Parts
- 11 pieces · 7 sizes
- Sheets (2440 × 1220 mm (4 × 8 ft))
- 1 carcass + 1 back
- Difficulty
- Easy
- Build time
- About 5 hours
- Edge band
- 7.2 m
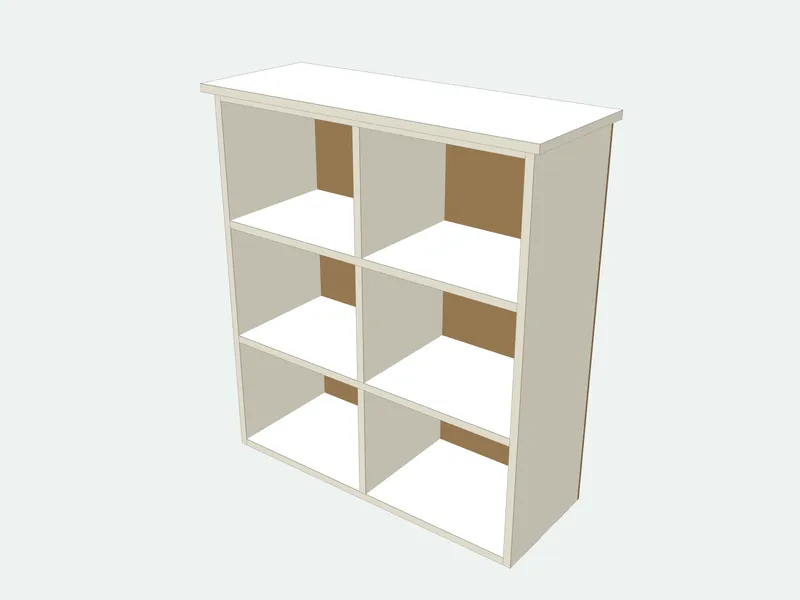
Cut list (default size)
| Part | Qty | Length | Width | Thick. | Board | Edges |
|---|---|---|---|---|---|---|
| Side | 2 | 900 | 300 | 18 | Carcass board 18 mm | |
| Bottom | 1 | 764 | 300 | 18 | Carcass board 18 mm | |
| Floor | 2 | 764 | 300 | 18 | Carcass board 18 mm |
Sizes in millimetres; length runs along the grain. Edges: bold lines are banded.
4 more parts, the sheet layout and the cut order are in the full plan.Resize it to any size, print labels and save it in a project.Sign in free to open it
How it is built
- The floors are screwed through the sides like fixed shelves; room walls stand on each floor and are screwed through it.
- Paint or wallpaper the back and the floors before assembly; it is much easier than inside the rooms.
- Screw a tall dollhouse to the wall: children climb on it.
Common mistakes
- Making the rooms too low for the dolls you have: measure a doll first.
- Using raw MDF for a toy: seal it with a toy-safe paint and round the front edges.
Tools you need
- Track saw or table saw
- Drill/driver
- Jigsaw
- Sander
- Paintbrush
Frequently asked questions
How tall should dollhouse rooms be?
About 200–250 mm (8–10 in) for 1:12 scale dolls and furniture, and 380–460 mm (15–18 in) for fashion dolls such as Barbie (1:6).
How deep should a dollhouse be?
250–350 mm (10–14 in): deep enough for furniture, shallow enough for small arms to reach the back.
Can I add windows and doors?
Yes: mark them on the back and the room walls and cut them with a jigsaw after drilling a starter hole in each corner, before assembly.
Related guides
Crib DimensionsStandard crib dimensions: a full-size crib mattress is at least 27 1/4 × 51 5/8 in, the crib about 30 × 54 in outside. Mini crib sizes and slat spacing.Dollhouse Scale GuideDollhouse scales explained: 1:12, 1:24, 1:48 and 1:6 (fashion dolls), with doll heights, room and ceiling sizes for each, and how to convert real sizes.